As a dedicated manufacturer of garden tools, I'm Chen Wei from Shandong Shunkun Hardware Tools, and I've spent decades focused on the science behind a perfect cut. A sharp, clean tool isn't just a pleasure to use; it's essential for the health of your garden. Dull blades crush plant stems instead of slicing them, leading to damage that invites disease and pests. This guide will walk you through the simple, professional-grade process to sharpen and clean your garden pruners and shears. Following these steps will not only make your gardening easier but will also ensure your plants thrive, which is a key selling point for any quality garden tool.
Why Should Every Gardener Prioritize Sharp Garden Tools?
For any serious gardener, their tools are an extension of their hands. The performance of these tools, particularly cutting implements like pruning shears and loppers, directly impacts the health and beauty of the garden. Using a dull blade to prune a plant is like performing surgery with a butter knife. Instead of a clean, precise incision that the plant can easily seal and heal, a dull tool crushes and tears the plant's tissues. This ragged wound is an open invitation for bacteria, fungi, and pests to invade, potentially causing disease or dieback in the branch or stem. It’s a simple truth: cuts that heal quickly come from sharp tools.
Beyond plant health, there's the human factor. Continuously forcing a dull blade through branches is exhausting and puts unnecessary strain on your hands, wrists, and arms. It turns a relaxing chore into a frustrating workout. A sharp pruner, on the other hand, glides through wood with minimal effort, allowing you to work longer, more comfortably, and with greater precision. Proper tool maintenance is not just about keeping your equipment in working order; it's about making your time in the garden more effective and enjoyable. It ensures every snip contributes positively to your landscape.
What Tools Will You Need to Clean and Sharpen Your Pruners?
Before you begin the process to clean and sharpen your tools, it’s best to gather everything you need in one place. Having the right supplies on hand makes the job quicker and more efficient. Fortunately, you don't need a professional workshop; most of these items are common household or garage staples. Think of it as setting up your station for a quick bit of maintenance that will pay you back with every cut.
Here's a simple checklist of what you'll need:
- For Cleaning:
- A bucket of warm, soapy water
- A stiff bristle brush or old toothbrush
- Steel wool (medium or fine grade) or a scouring pad
- Clean, dry rags or paper towels
- Rubbing alcohol or a household cleaner for disinfection
- For Sharpening:
- A sharpening tool, such as a diamond file, whetstone, or carbide sharpener. A diamond file is often the easiest and most effective for a gardener.
- Protective gear: gloves and safety glasses are highly recommended.
- For Protection:
- A penetrating lubricant like WD-40 or a specialized tool oil (linseed oil works well).
Having these items ready will streamline the entire process, turning a potentially messy task into a straightforward and satisfying project.
How Do You Properly Clean Grimy Garden Shears?
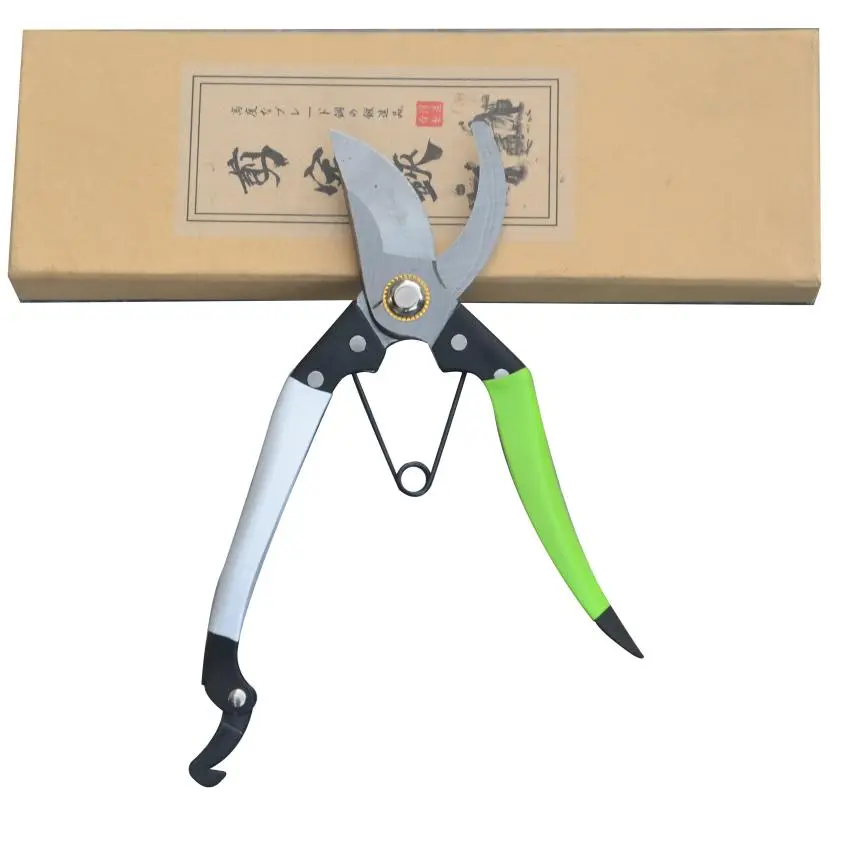
Over time, your garden shears will accumulate a sticky layer of plant sap, dirt, and other grime. This gunk not only looks bad but can also cause the blades to stick, making them harder to use and preventing them from cutting cleanly. The first and most crucial step before you sharpen anything is to give your tools a thorough cleaning. A clean surface is essential for effective sharpening and for preventing the transfer of plant diseases around your garden.
Start by giving the pruner a good scrub in warm, soapy water. Use a stiff brush to get into all the joints and crevices where dirt and sap like to hide. If the sap is particularly stubborn, you can use a solvent like turpentine or mineral spirits on a rag to dissolve it. Once all the visible dirt and grimy residue is gone, rinse the tool thoroughly. The next step is disinfection. Wipe down the blades with a cloth soaked in rubbing alcohol to kill any lingering plant pathogens. Finally, and this is very important, wipe the blades dry completely with a clean cloth. Leaving any moisture on the metal parts is the fastest way to encourage rust to form.
What's the Best Way to Remove Stubborn Rust from a Blade?
Rust is the arch-nemesis of any garden tool. It corrodes the metal, weakens the blade, and creates a rough surface that increases friction, making cuts more difficult. If you find orange or brown patches on your pruner, it's important to remove rust as soon as possible. The best method depends on the severity of the corrosion. For light surface rust, a simple and effective technique is to use steel wool and a bit of elbow grease.
Take a pad of medium-grade steel wool, add a few drops of oil or WD-40 to help lubricate the process, and begin to scour the rusted areas. The abrasive texture of the steel wool to remove the oxidation without significantly scratching the underlying metal. Work in small circles with firm pressure until the rust is gone. For more heavily pitted rust, you might need to step up to fine-grit sandpaper (around 220-400 grit). After removing the rust, always wipe the blade down to remove any metal filings and apply a fresh coat of oil to prevent future corrosion.
How Do You Safely Disassemble Your Shears for a Deep Clean?
For a truly thorough cleaning and sharpening session, especially with tools like bypass pruners where the blades overlap, it’s highly beneficial to disassemble them. This allows you to access the entire surface of each blade, including the inner faces where gunk and rust often hide. Don't be intimidated by this step; most garden shears and secateurs are held together by a single central bolt or nut.
Before you start, take a quick photo with your phone so you have a reference for how everything goes back together. Using the appropriate wrench or socket, carefully loosen and remove the central pivot nut. Lay out all the parts—blades, spring, bolt, nut, and any washers—in the order you removed them on a clean rag. This is the perfect time to clean each component individually, scrubbing away any hidden grime. Inspect the parts for wear and tear. Is the spring still strong? Is the bolt's thread in good shape? This detailed inspection is a key part of professional tool maintenance and ensures your pruner will function smoothly once reassembled.
What is the Correct Technique to Sharpen a Pruner Blade with a Diamond File?
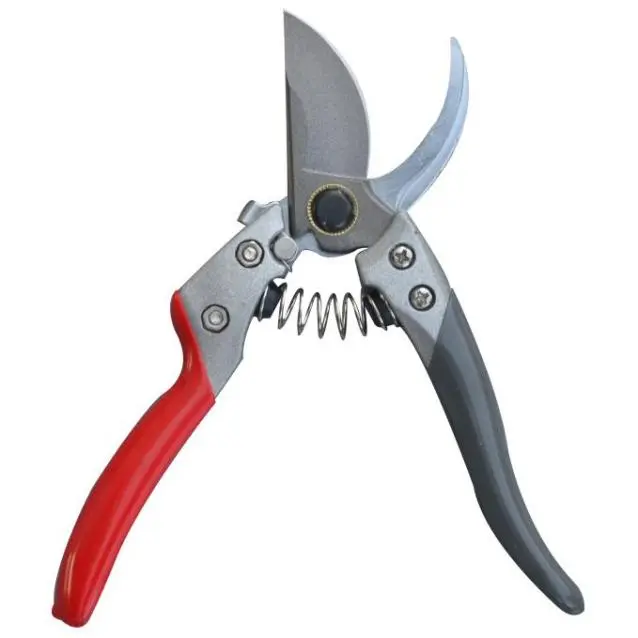
Now we get to the most important part: how to sharpen the blade. The goal is to restore a clean, sharp edge without altering the blade's original angle. Most garden pruners have a single beveled edge—this is the only side you should sharpen. The other side is flat and should remain so. Sharpening the flat side can ruin the tool's cutting action, where the two sides meet with scissor-like precision.
Hold the pruner firmly in your non-dominant hand. Identify the beveled edge of the cutting blade. Now, take your diamond file or sharpening stone and place it against the bevel, matching the existing angle. This angle is usually around 20 degrees. A good way to visualize this is to lay the file flat on the bevel and then rock it slightly until it feels stable—that's your angle. With steady, even pressure, push the file from the base of the blade out to the tip, following the curve of the blade. It's a smooth, one-way stroke. Don't saw back and forth. Do this 5-10 times, always maintaining that consistent angle. You should start to see a new, shiny sharp edge forming. The key is consistency. As manufacturers of high-quality tools, we take great care in grinding this initial bevel. Your job is simply to follow it.
Which Sharpening Tool is Right for Your Garden Shears?
There are several types of sharpening tools available, and the best one for you often comes down to personal preference and the specific tool you need to sharpen. For the average gardener, a few key options stand out for their effectiveness and ease of use. The goal is to find a sharpener that allows you to confidently maintain the correct angle on the blade.
Here's a quick comparison of popular choices:
- Diamond File: This is my top recommendation for most garden tools. A diamond file has a surface coated with industrial diamonds, so it cuts quickly and effectively on hardened steel. They are long-lasting and work well for shaping and creating a very sharp edge.
- Whetstone (Sharpening Stone): A classic choice. Whetstones come in different grits, from coarse for repairing a damaged edge to fine for honing a razor finish. They often require water or oil as a lubricant. While very effective, they can take a bit more practice to master the angle control.
- Carbide Sharpener: These are small, handheld tools with pre-set carbide V-grooves. You simply pull the blade through the sharpener a few times. They are incredibly easy to use but are less versatile and remove metal more aggressively, which can shorten the life of your blade if used too often.
For most shears and loppers, a good quality diamond file offers the best balance of control, speed, and precision for achieving consistently cleaner cuts.
How Do You Sharpen Different Types of Shears, like Hedge Shears or Loppers?
While the basic principle of sharpening remains the same—follow the factory bevel—different tools may require a slightly different approach. The key is to adapt your technique to the size and style of the blade. Whether you're working on a small hand pruner or large hedge shears, the goal is always a smooth, sharp cutting edge.
- Bypass Pruners and Loppers: As discussed, you only sharpen the beveled edge of the single cutting blade. The other blade (the "hook" or anvil) is left flat. After sharpening, you may feel a small burr of metal on the flat side of the blade. Gently run your sharpening tool flat against this back side in a single pass to remove it. This ensures a clean scissor action.
- Anvil Pruners: These have one cutting blade that closes onto a flat, soft metal anvil. You sharpen both sides of the cutting blade, creating a V-shape, much like a knife. Do not sharpen the anvil itself.
- Hedge Shears: These long blades are sharpened just like a bypass pruner. Because the blade is long and straight, it can be easier to maintain a consistent angle. It's often helpful to clamp the hedge shears in a vise to hold them steady while you work. Focus on making clean cuts along the entire length of the blade, from the pivot to the tip, to ensure your shrub trimming is even and healthy. Many of our professional customers rely on well-maintained durable hand pruners for detailed work and larger shears for bigger jobs.
What are the Final Steps to Oil and Protect Your Pruner?
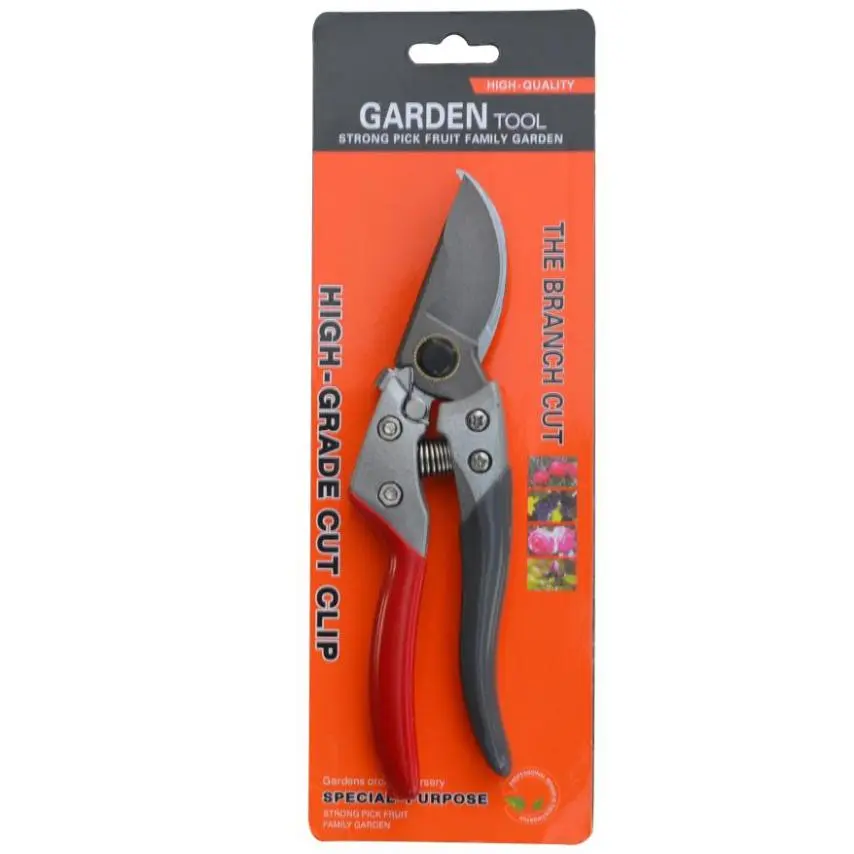
Once you have a clean, dry, and sharp pruner, the final step is crucial for long-term protection: lubrication. You need to lubricate all the moving parts to ensure smooth action and apply a protective coating to the blades to prevent rust. This step only takes a moment but will significantly extend the life and performance of your tool.
First, reassemble your pruner, making sure all the parts are back in their correct order. Tighten the central pivot nut so that the blades move smoothly but are not loose or wobbly. Next, apply a few drops of a good quality lubricant or oil to the pivot point. Open and close the shears several times to work the oil deep into the joint. Finally, take a clean rag with a little oil on it and wipe down all the metal parts, especially the freshly sharpened blade. This thin film of oil creates a barrier against moisture, which is the primary cause of rust. Storing your high-quality garden shears in a dry place after oiling will keep them in perfect condition for your next gardening session.
How Often Should You Really Clean and Sharpen Your Garden Tools?
There is no single magic number for how often to sharpen your tools; it depends entirely on how much you use them and what you are cutting. A good rule of thumb is to perform this maintenance at least once per year, typically at the end of the gardening season before storing your tools for winter. However, for an avid gardener, more frequent attention may be necessary.
A better approach is to pay attention to your tool's performance. When you notice that you have to apply more force to make a cut, or if the cuts on the plants look ragged and torn instead of clean, it's time to sharpen. As for cleaning, it's best practice to give your pruning tools a quick wipe-down after each use, especially if you've been cutting sappy or diseased wood. This prevents buildup and the spread of pathogens. Keeping a regular maintenance schedule for all your specialized pruning tools, from the smallest secateur to the longest pole saw, ensures they are always ready when you need them.
Key Takeaways
To keep your garden tools in peak condition for healthy plants and effortless pruning, always remember these essential steps:
- Clean First: Always start by thoroughly cleaning your tools to remove dirt, sap, and grime. Disinfect the blades with alcohol to prevent spreading disease.
- Remove Rust: Use steel wool and oil to scrub away any rust spots before they cause significant damage to the blade.
- Sharpen the Bevel: Use a diamond file or whetstone to sharpen only the beveled side of the blade, matching the factory angle (usually around 20 degrees). Use smooth, one-way strokes.
- Lubricate for Protection: After cleaning and sharpening, reassemble your tool and apply oil to the pivot point and blades to ensure smooth operation and prevent future rust.
- Listen to Your Tools: Sharpen your pruners whenever you notice they are becoming difficult to use or are no longer making clean cuts. Regular maintenance is better than extensive repair.
Post time: 11-12-2025